


Table of contents
Today's blog is about Git and GitHub.
This might be an interesting one. let's check it out 🎈.
Before that✋, let me tell you a story.
Once upon a time, there were 10 software developers. They got started on a project. They deployed🚀 that project. The client wanted a new feature. They launched that. And another one... and another one. After four versions of the project, when the client wanted to have another feature, they got started. But, nothing was working😱. They tried to do many things and undo many things. But no good results. Finally, they could not deliver the project and they had to start everything from scratch.

A sad story isn't it?
That is why we need a version control system 🦸 so that we can track every change in our project and go back to any version we intend to.
Git is a version control system. GitHub is the tool that manages git. As simple as that. There are other tools like GitHub such as Bitbucket, Gitlab, etc.
Github basics:
We are not going to learn about each and everything about git. But we can definitely talk about some of the bare minimum commands which are going to be used almost 99% of the time.
I am sure everyone has git installed in their system. If not go to Git installation Guide.
Now that you have git installed, let's talk about the basic commands which you are going to use to configure git in your system.
Go to the terminal and type
$ git config --global user.name "Your Name"
$ git config --global user.email your.email@example.com
This will allow git to identify your changes by name and email address, which is especially very helpful when collaborating with others.
After signing up, the main part starts.
Here, I am going to create a git repository and just add a couple of files in the GitHub.
So, let's get started......
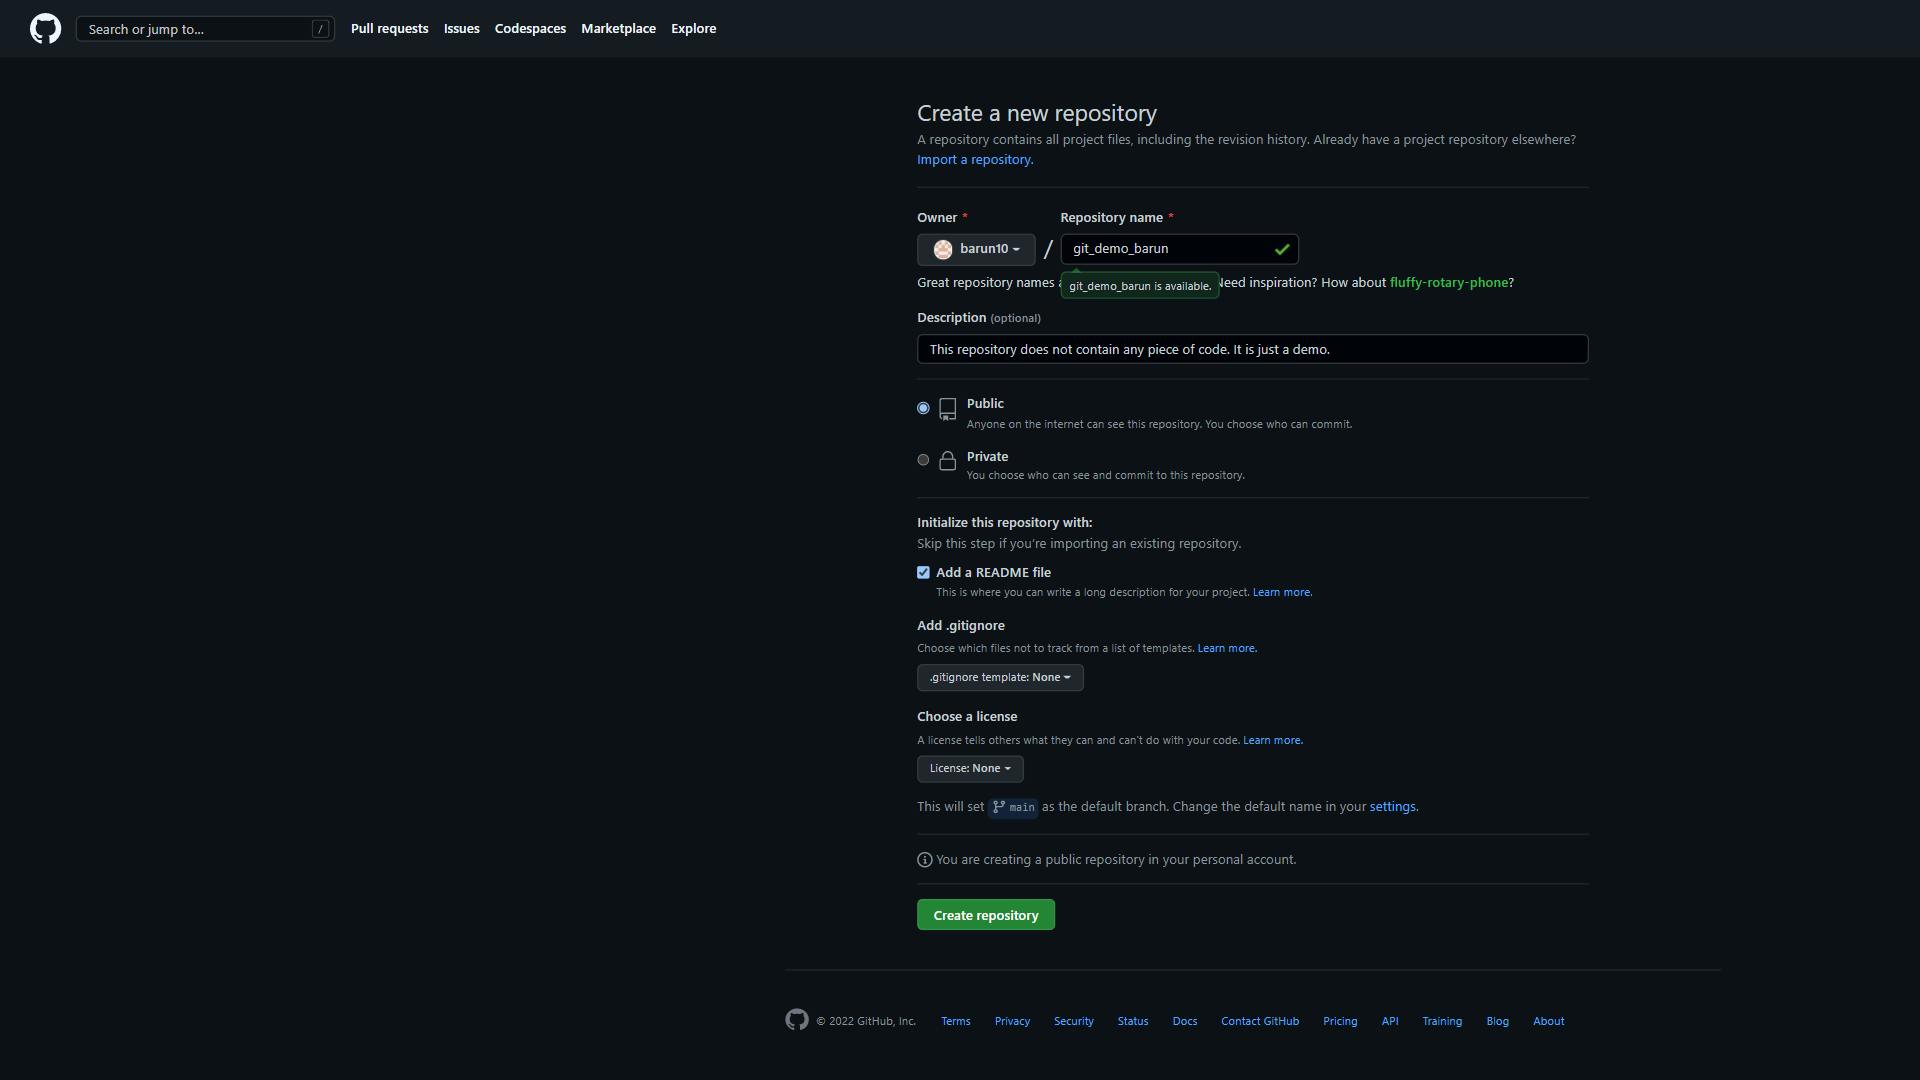
- First, go to your GitHub profile and try to create a new repository. Name it as git_repo_"your name".
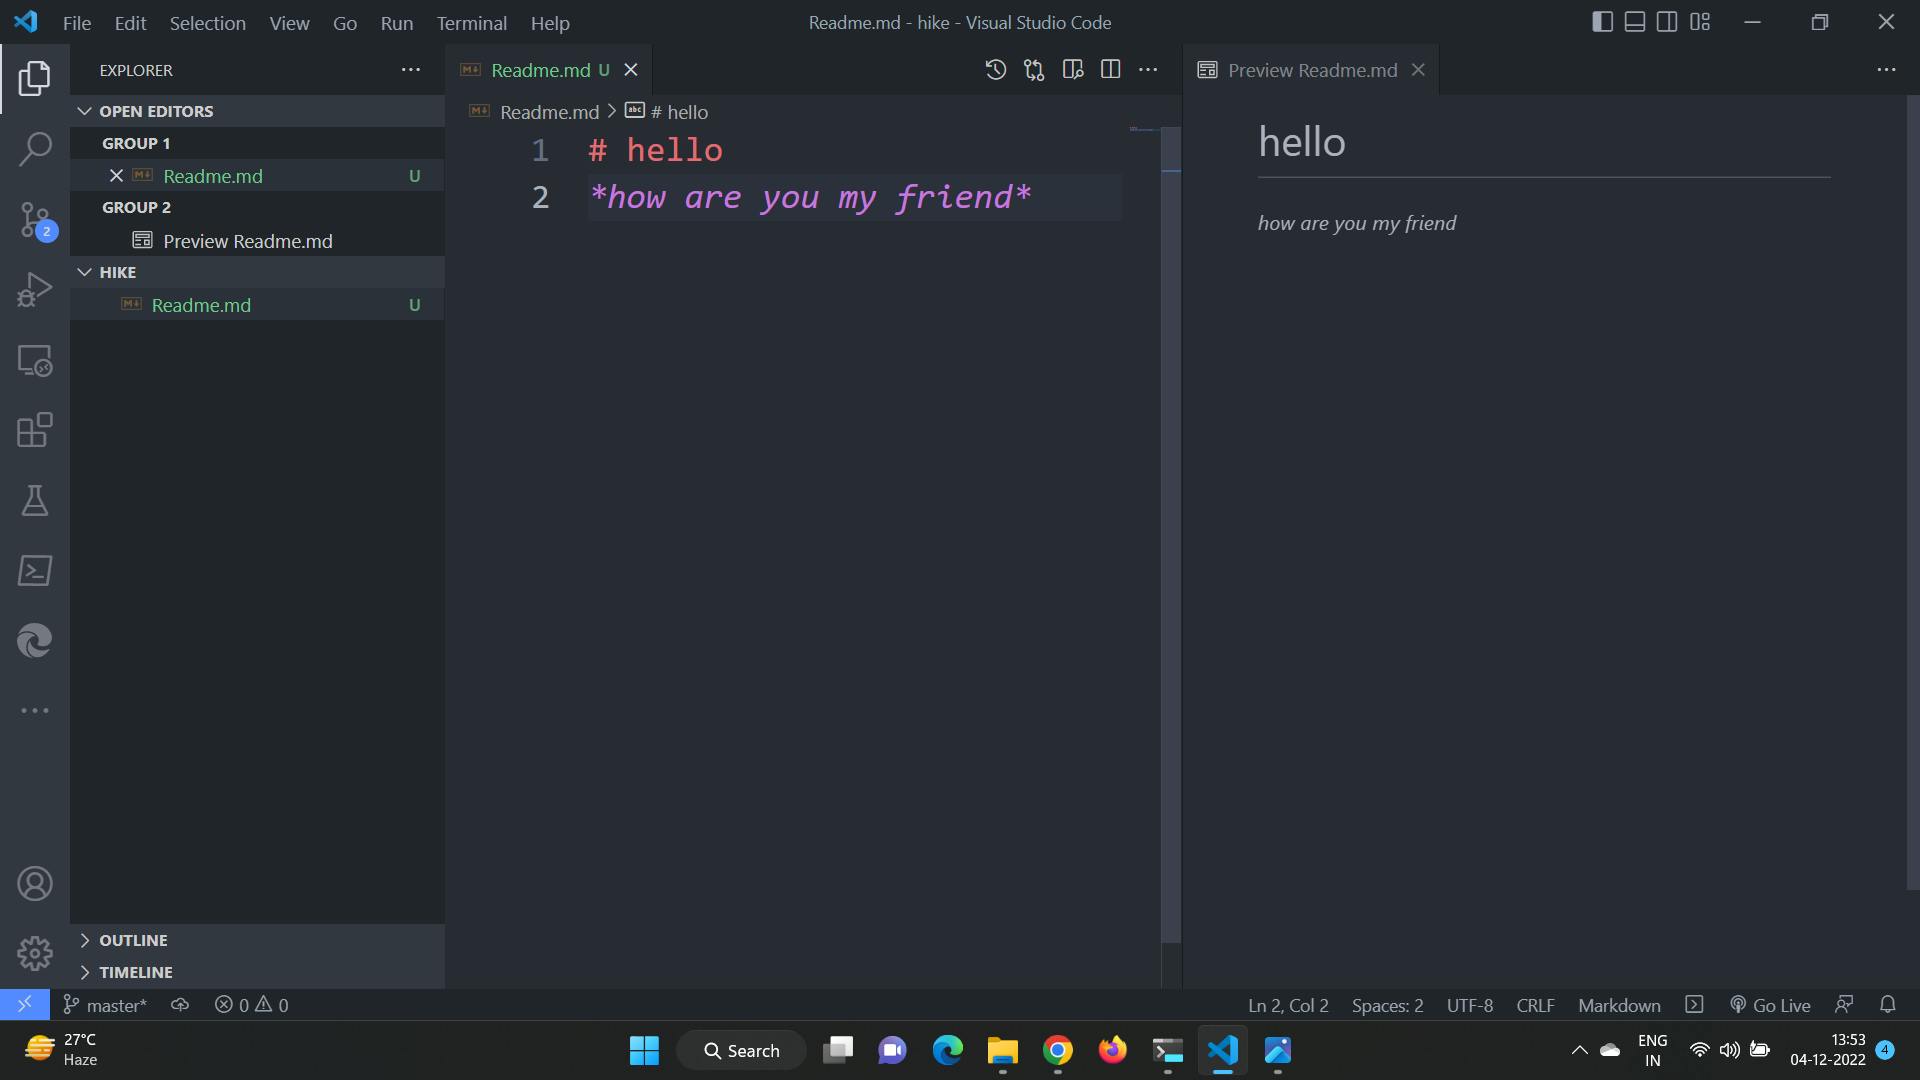
- Go to vscode or your favorite editor and create a folder(here the name of the folder is hike) and then add a Readme.md file in that folder. Then try to write a couple of sentences just for the demonstration purpose.
- Now, it is time to setup git. Open up the vscode terminal and type the following commands.
$ git init
$ git add README.md
$ git commit -m "first commit"
$ git branch -M main
$ git remote add origin https://github.com/barun10/git-demo_barun.git
$ git push -u origin main
These are the commands you have to write. Let me explain each and every one of them.
init -> used to initialize git repository.
add -> used to add the file we want to keep a track of the file.
commit -> used to capture a snapshot of the changes and -m adds a message to that.
branch -M -> used to establish the main branch and give it a name.
The line after branching is used to link the local file to the git origin.
push -> used to push the code to the main branch from the origin.
Now, the readme file is pushed to your git repo. You can push any other file using the same method.
So, keep on creating and adding content on github😊.
If you want, have a look at my github.
